How to Install Plug-In Solar in an Apartment: A Step-by-Step Guide
By PlugInSolarUS Editorial Team · Published 2026-02-25 · Updated April 2026 · 10 min read
A practical guide to installing plug-in solar in an apartment — from choosing the right mounting solution to connecting the system and optimizing your settings.
How to Install Plug-In Solar in an Apartment: A Step-by-Step Guide
Plug-in solar systems, also known as balcony solar or apartment solar, offer a practical and accessible way for renters and apartment dwellers to harness renewable energy. These systems are designed for straightforward installation, allowing you to generate your own electricity, reduce your carbon footprint, and potentially lower your utility bills. This comprehensive guide will walk you through everything you need to know, from choosing the right system to safe installation and maintenance.
Important Safety Notice
Plug-in solar systems MUST connect to a GFCI-protected outlet on a dedicated circuit. Connecting to a standard, non-GFCI outlet or a shared circuit can pose significant safety risks, including electrical fires and electrocution. Always prioritize safety and consult with a qualified electrician if you are unsure about your electrical setup.
Why Plug-In Solar for Apartments?
Apartment living often presents unique challenges for solar adoption, primarily due to property ownership and space constraints. Plug-in solar systems overcome these hurdles by offering:
- Portability: Easy to move if you change apartments.
- Simplicity: Designed for DIY installation without complex wiring.
- Affordability: Lower upfront costs compared to traditional rooftop solar.
- Energy Independence: Generate your own clean energy, even as a renter.
Choosing the Right System Tier for Your Apartment
Selecting the appropriate plug-in solar system depends on your energy needs, available space, and budget. Systems are generally categorized by their panel wattage and battery storage capacity.
System Sizing Tiers
These tiers provide a general guideline for matching system output to your consumption patterns:
| Tier | Panel Wattage | Battery Capacity | Ideal For |
|---|---|---|---|
| Starter | 400–1,200W | 1–2 kWh | Offsetting standby power, charging small devices, minimal energy users. |
| Mid-Range | 800–1,600W | 2–3 kWh | Supplementing power for common appliances, moderate energy users. |
| High Output | 1,600–2,400W+ | 3–5 kWh+ | Significantly reducing electricity bills, powering larger loads, heavy energy users. |
Battery Capacity Tiers
Battery storage is crucial for maximizing your solar investment, allowing you to store excess energy generated during the day for use at night or during peak hours. This is especially beneficial with Time-of-Use (TOU) electricity plans.
| Tier | Capacity | Typical Use Case |
|---|---|---|
| Entry | 1–2 kWh | Basic backup, powering essential devices for a few hours. |
| Standard | 2–3 kWh | Moderate evening use, running a refrigerator and lights overnight. |
| Extended | 3–5 kWh+ | Extensive evening use, powering multiple appliances, longer backup duration. |
Consider your daily energy consumption, the appliances you wish to power, and your budget when making your selection. For a detailed assessment of your energy needs, use our Savings Calculator.
Understanding GFCI Outlets and Electrical Requirements
The electrical connection for your plug-in solar system is paramount for both safety and compliance. It is not enough to simply plug into any available outlet.
The GFCI Requirement
Plug-in solar systems MUST be connected to a Ground Fault Circuit Interrupter (GFCI) protected outlet on a dedicated circuit. This is a non-negotiable safety standard.
- GFCI Protection: A GFCI outlet is designed to protect against electric shock by detecting imbalances in electrical current. If an imbalance occurs (e.g., current leaking through a person), the GFCI rapidly trips, cutting off power.
- Dedicated Circuit: A dedicated circuit means that the outlet is the only one on that particular circuit breaker. This prevents overloading the circuit, which can happen if other appliances are drawing power from the same circuit as your solar system. Overloading can lead to tripped breakers, damaged appliances, or even electrical fires.
The National Electrical Code (NEC) Articles 690 (Solar Photovoltaic Systems) and 705 (Interconnected Electric Power Production Sources) apply to plug-in solar installations, emphasizing these safety measures. Article 625, which pertains to EV charging, does not apply to plug-in solar.
Check Your Outlets
Before purchasing, identify if you have a GFCI-protected outlet on a dedicated circuit available. GFCI outlets typically have "TEST" and "RESET" buttons. If you are unsure, consult with a qualified electrician or your property manager. Do NOT proceed with installation if you cannot confirm a suitable outlet.
How to Install Plug-In Solar in an Apartment: A Step-by-Step Guide
Installing a plug-in solar system is designed to be user-friendly, but careful attention to detail and safety is crucial. Follow these steps for a successful setup.
Step 1: Assess Your Location and Permissions
- Sunlight Exposure: Identify areas with maximum direct sunlight throughout the day. Balconies, patios, or even south-facing windows are common spots. Use a compass or a sun-tracking app to determine optimal orientation.
- Structural Integrity: Ensure your chosen location can safely support the weight of the solar panels and mounting hardware. Consult your landlord or property manager if you have concerns.
- Landlord/HOA Approval: Before making any purchases or installations, it is critical to obtain permission from your landlord or Homeowners Association (HOA). Many leases or HOA agreements have clauses regarding exterior modifications. Be prepared to provide details about the system, its safety features (like UL 3700 certification), and installation plans. Our guide for renters and information for property managers can help facilitate this conversation.
Step 2: Choose and Acquire Your System
- Select a System: Based on your energy needs and available space, choose a Starter, Mid-Range, or High Output system. Consider systems certified with UL 3700, the safety standard for plug-in grid-interactive power conversion equipment.
- Purchase Components: Your system will typically include solar panels, a microinverter (or string inverter for larger systems), mounting hardware, and potentially a battery storage unit. Ensure all components are compatible and meet safety standards. Our Buyer's Guide can assist you in making an informed decision.
Step 3: Prepare Your Electrical Connection
- Verify GFCI Outlet: As emphasized, confirm you have a GFCI-protected outlet on a dedicated circuit. If not, you will need to have one installed by a licensed electrician. Do NOT use extension cords or power strips.
- Check Circuit Capacity: Ensure the dedicated circuit can handle the input from your solar system without exceeding its amperage rating. Most plug-in systems are designed to stay within standard household circuit limits, but verification is always recommended.
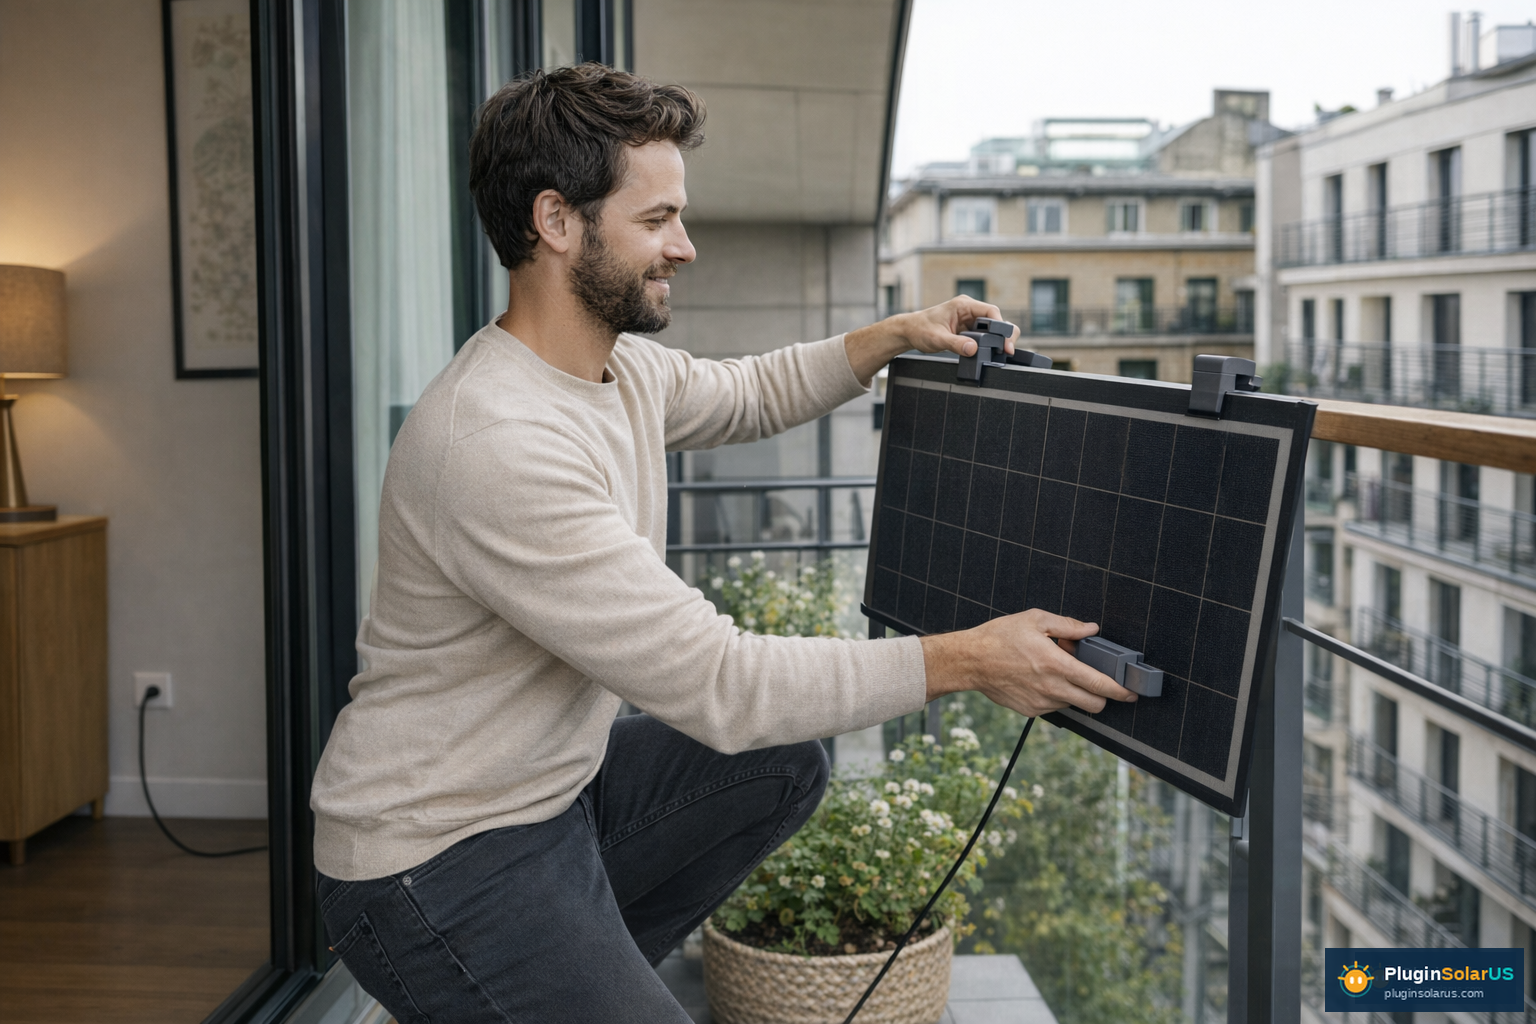
Step 4: Mount the Solar Panels
- Assemble Mounting Hardware: Follow the manufacturer's instructions to assemble the mounting brackets. These are often designed for easy attachment to balcony railings or flat surfaces.
- Secure Panels: Carefully attach the solar panels to the mounting hardware. Ensure they are securely fastened to withstand wind and other weather conditions. Angle the panels for optimal sun exposure, typically facing south in the Northern Hemisphere.
Step 5: Connect the System
- Connect Microinverter: Attach the microinverter(s) to the back of each solar panel or to the mounting structure. The microinverter converts the DC electricity from the panels into AC electricity compatible with your home's grid.
- Connect to Outlet: Plug the system's AC output cable directly into the GFCI-protected, dedicated outlet. Ensure a snug and secure connection.
- Activate System: Follow the manufacturer's instructions to power on your system. Many systems include a monitoring app that allows you to track energy production in real-time.
Step 6: Monitor and Maintain
- Monitor Performance: Regularly check your system's performance using the provided monitoring tools. This helps identify any issues early.
- Clean Panels: Periodically clean your solar panels to remove dust, dirt, and debris that can reduce efficiency. Use a soft brush and water.
- Inspect Connections: Annually inspect all electrical connections and mounting hardware to ensure they remain secure and free from corrosion.
Troubleshooting Common Issues
Even with careful installation, you might encounter minor issues. Here are some common problems and their solutions:
Low or No Power Output
- Check Sunlight: Ensure panels are not shaded by buildings, trees, or debris.
- Clean Panels: Dust and dirt can significantly reduce efficiency.
- Inverter Status: Check the indicator lights on your microinverter. A red or flashing light usually indicates an error. Consult your system's manual for error code interpretations.
- Grid Connection: Verify that your system is properly plugged into the GFCI outlet and that the outlet has power.
System Not Turning On
- GFCI Tripped: Check if the GFCI outlet has tripped. Press the "RESET" button. If it repeatedly trips, there might be an electrical fault, and you should contact an electrician.
- Circuit Breaker: Check your home's electrical panel to see if the dedicated circuit breaker has tripped.
- Loose Connections: Inspect all cables and connections for looseness or damage.
Flickering Lights or Appliance Issues
- This could indicate an issue with grid synchronization or an overloaded circuit. Ensure your system is correctly configured and that the circuit is indeed dedicated. If problems persist, disconnect the solar system and contact an electrician.
Moving with Your Plug-In Solar System
One of the significant advantages of plug-in solar for apartment dwellers is its portability. Unlike traditional rooftop solar, you can often take your system with you when you move.
Disassembly and Reinstallation
- Disconnect Safely: Follow the manufacturer's instructions to safely disconnect your system from the electrical outlet and then disassemble the panels from their mounts.
- Pack Carefully: Panels and inverters are delicate. Pack them securely in their original packaging or suitable protective materials to prevent damage during transit.
- Reinstallation: When you move to a new apartment, repeat the installation steps, paying close attention to obtaining new landlord/HOA approval and verifying the electrical requirements of your new residence.
This portability makes plug-in solar a truly flexible investment for renters, allowing you to continue enjoying the benefits of solar energy wherever you go.
Regulatory Landscape and Incentives
The regulatory environment for plug-in solar is evolving, with significant developments in recent years. Understanding these can impact your decision and potential savings.
Federal and State Policies
- Federal ITC (30%): The federal Investment Tax Credit, which offered a 30% tax credit for solar installations, expired on December 31, 2025. It is no longer available for new purchases made in 2026 or later. However, if you purchased and installed a system in 2025, you can still claim the credit on your 2025 tax returns.
- California SB 868 (Plug and Play Solar Act, 2026): This significant bill, aimed at streamlining plug-in solar adoption in California, passed the full California Senate 35-1 on May 20, 2026 and is now in the Assembly. However, it is NOT yet enacted into law. It is important to note that AB-2316 was a community solar bill and unrelated to plug-in solar.
- Utah HB 340 (2025): Utah was the first U.S. state to enact a law explicitly legalizing plug-in solar. As of June 2026, eight states have enacted similar laws (Utah, Maine, Virginia, Colorado, Maryland, Connecticut, New Hampshire, and Vermont). Utah's law exempts systems under 1,200W from interconnection permits, significantly simplifying the process for residents.
- UL 3700: This is a crucial safety standard for plug-in grid-interactive power conversion equipment published in December 2025. Maine's LD 1730 is the first enacted law to reference UL 3700 by name. Utah's HB 340 (signed before UL 3700 existed) references UL 1741 for inverters. UL 3700 is referenced in most pending state bills, indicating its growing importance for system certification and consumer safety.
Always check the specific regulations and incentives available in your state and local municipality. Our States section provides more detailed information.
Financial Considerations: Payback Periods and Electricity Rates
Understanding the financial benefits of plug-in solar involves looking at payback periods and current electricity rates.
Payback Periods
The payback period is the time it takes for your energy savings to offset the initial cost of your solar system.
- National Average: The national average payback period for plug-in solar systems is typically 5–7 years.
- High-Rate States: In states with higher electricity rates, such as California (CA), Massachusetts (MA), and Connecticut (CT), the payback period can be significantly shorter, often 3–5 years, especially when combined with Time-of-Use (TOU) optimization.
Electricity Rates
Your local electricity rates play a major role in how quickly you see savings.
| Region | Average Electricity Rate (per kWh) |
|---|---|
| National Average | ~$0.18/kWh |
| California (CA) | ~$0.34/kWh |
| Massachusetts (MA) | ~$0.32/kWh |
| Connecticut (CT) | ~$0.28/kWh |
By generating your own power, you reduce the amount of electricity you need to purchase from the grid, directly impacting your monthly utility bills. Battery storage further enhances savings by allowing you to avoid purchasing electricity during expensive peak-rate periods.
Energy Resilience: Keeping the Lights On When the Grid Goes Down
Most apartment dwellers install plug-in solar for the bill savings — but battery storage adds a second, equally valuable benefit: power during outages. Apartments are particularly vulnerable during grid failures because building-wide systems (elevators, hallway lighting, HVAC) typically shut down, and residents have no backup power options unless they own a generator (which most leases prohibit indoors).
A plug-in solar system with 2 kWh of battery storage can keep your personal essentials running through a typical outage:
| Device | Typical Draw | Runtime on 2 kWh |
|---|---|---|
| Refrigerator | ~150W average | ~13 hours |
| LED lighting (4 bulbs) | ~40W | ~50 hours |
| Wi-Fi router | ~15W | ~130 hours |
| Phone charging | ~20W | ~100 hours |
| CPAP machine | ~30–60W | ~33–66 hours |
During daylight hours, your solar panels will continuously recharge the battery, extending these runtimes indefinitely as long as the sun is shining. This makes plug-in solar with battery storage a practical emergency preparedness tool for apartment residents — particularly in wildfire-prone, hurricane-zone, or extreme-heat regions where outages can last multiple days.
Key spec to look for: Choose a system with a UPS (uninterruptible power supply) output mode, which keeps connected devices live during the transition from grid to battery power without any interruption. This is essential for medical devices and computers.
Next Steps
Ready to take the next step towards energy independence with plug-in solar? Explore our resources to help you on your journey:
- Are You Ready for Solar? Start with our Solar Readiness Guide to assess your eligibility and prepare for installation.
- Calculate Your Savings: Use our interactive Savings Calculator to estimate your potential energy production and financial benefits.
- Understand Battery Storage: Dive deeper into energy storage options with our comprehensive Battery Guide.
- Find Your Perfect System: Explore various plug-in solar options and make an informed purchase with our Buyer's Guide.